
Quick Start
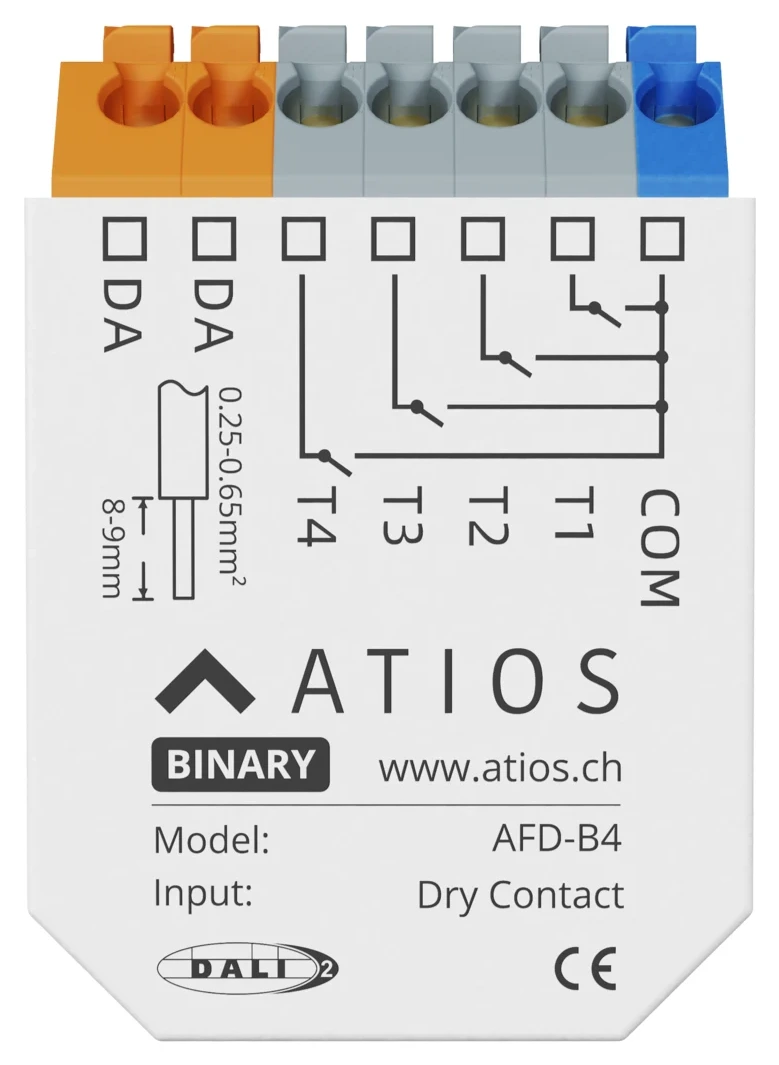
The DALI-2 Button Coupler is fitted in a flush-mounted box behind your wall switches and turns four ordinary push buttons into DALI-2 controls.
Key features
- 4 potential-free inputs for push buttons and switches
- Works as a DALI-2 input device on any DALI-2 controller
- Short press, double press and long press with repetition for dimming
What you need
- Atios DALI-2 Button Coupler
- A DALI bus with a DALI power supply
- Push buttons or switches, wired with no more than 50 cm of cable
1. Mount and wire the device
Fit the coupler into a flush-mounted box, wire your buttons to T1 to T4 against COM, and connect the DALI bus to the two DA terminals. Polarity does not matter. For full wiring details, go to Installation.
2. Operating mode
The coupler is a DALI-2 input device. It reports button events to a central DALI-2 controller, such as the Atios SmartCore, which decides what happens. For the full list of events, go to Button Events.
3. Address the device
The SmartCore assigns the address. Open the Web Interface, go to DALI Configurator and run the DALI Wizard. Choose New DALI Installation for a bus you commission from scratch, or Scan for DALI Devices to add the coupler to a bus that already runs. For the full procedure, go to DALI Configurator.
4. Locate the device
Once addressed, trigger the buttons in turn. The coupler reports every press, so you can tell which address belongs to which coupler.
5. Connect the buttons to your devices
Go to Matter Bridge and open the accessory the button should control. In the DALI² input row, click Add Input. The list shows every button instance the SmartCore found, named by address, input and type, for example A1 · Input 2 · I0 · Push Button. Select your button from the list, set Input Mode to Momentary for a push button or Switch for a latching switch, then click Add Input and Save Changes.
Two further options sit next to the input mode. Inverted reverses the logic, for a contact that closes instead of opens. Stateful reads the steady position of the contact instead of the change, which suits a door contact that stays closed.
An accessory takes more than one input, so several buttons can control the same device.