
Quick Start
The KNX Bridge is installed in your electrical cabinet next to your KNX actuators. It supports three independent functions, each configured separately in the Web Interface. Use one or combine them.
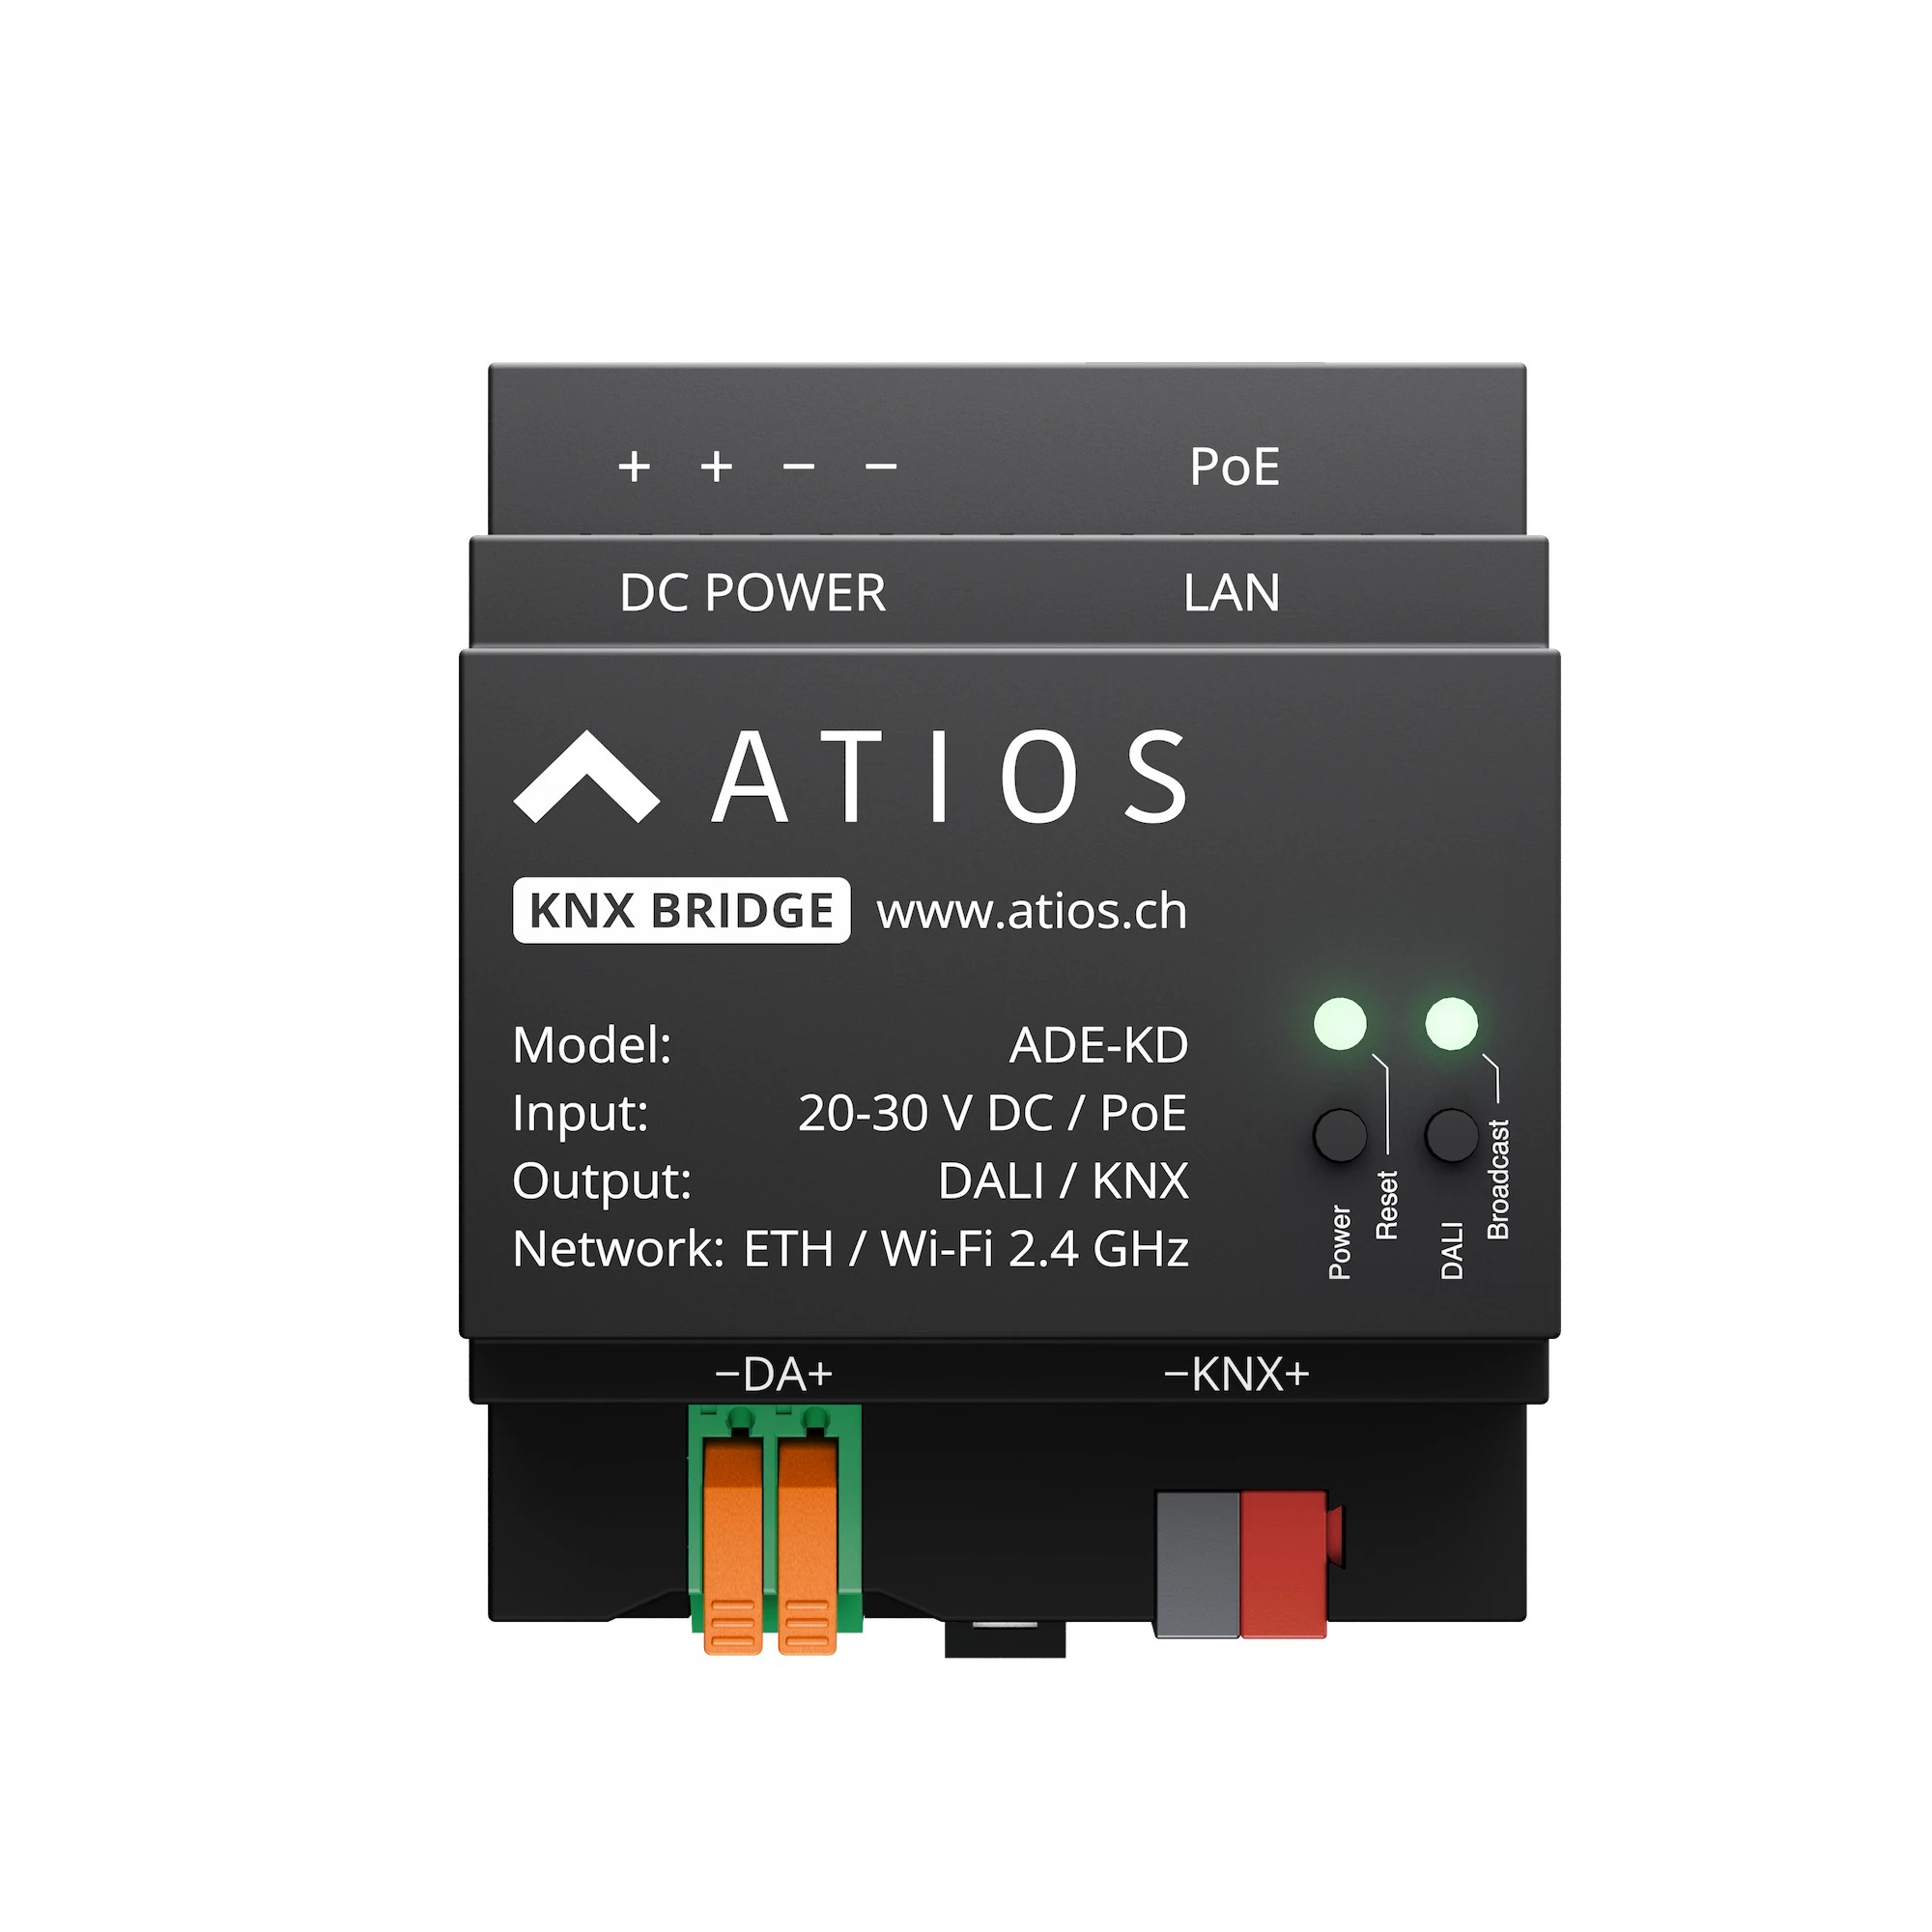
Key features
- Matter Bridge for KNX devices
- Built-in KNX IP Interface
- KNX-DALI Gateway with integrated DALI power supply
- KNX remote access for monitoring and control
- Ethernet (PoE) or WiFi connectivity
Connecting to your Network
Before setting up any of the three functions, connect the device to your network over Ethernet. Use PoE if you want to power it over the same cable. Go to Network Settings for more details.
Powering the Device
Power the KNX Bridge via Power over Ethernet (PoE 802.3af) on the LAN port, or wire an external 20-30 V DC supply to the DC POWER terminals. Use only one source at a time. For full wiring details, go to Mounting & Wiring.
Accessing the Web Interface
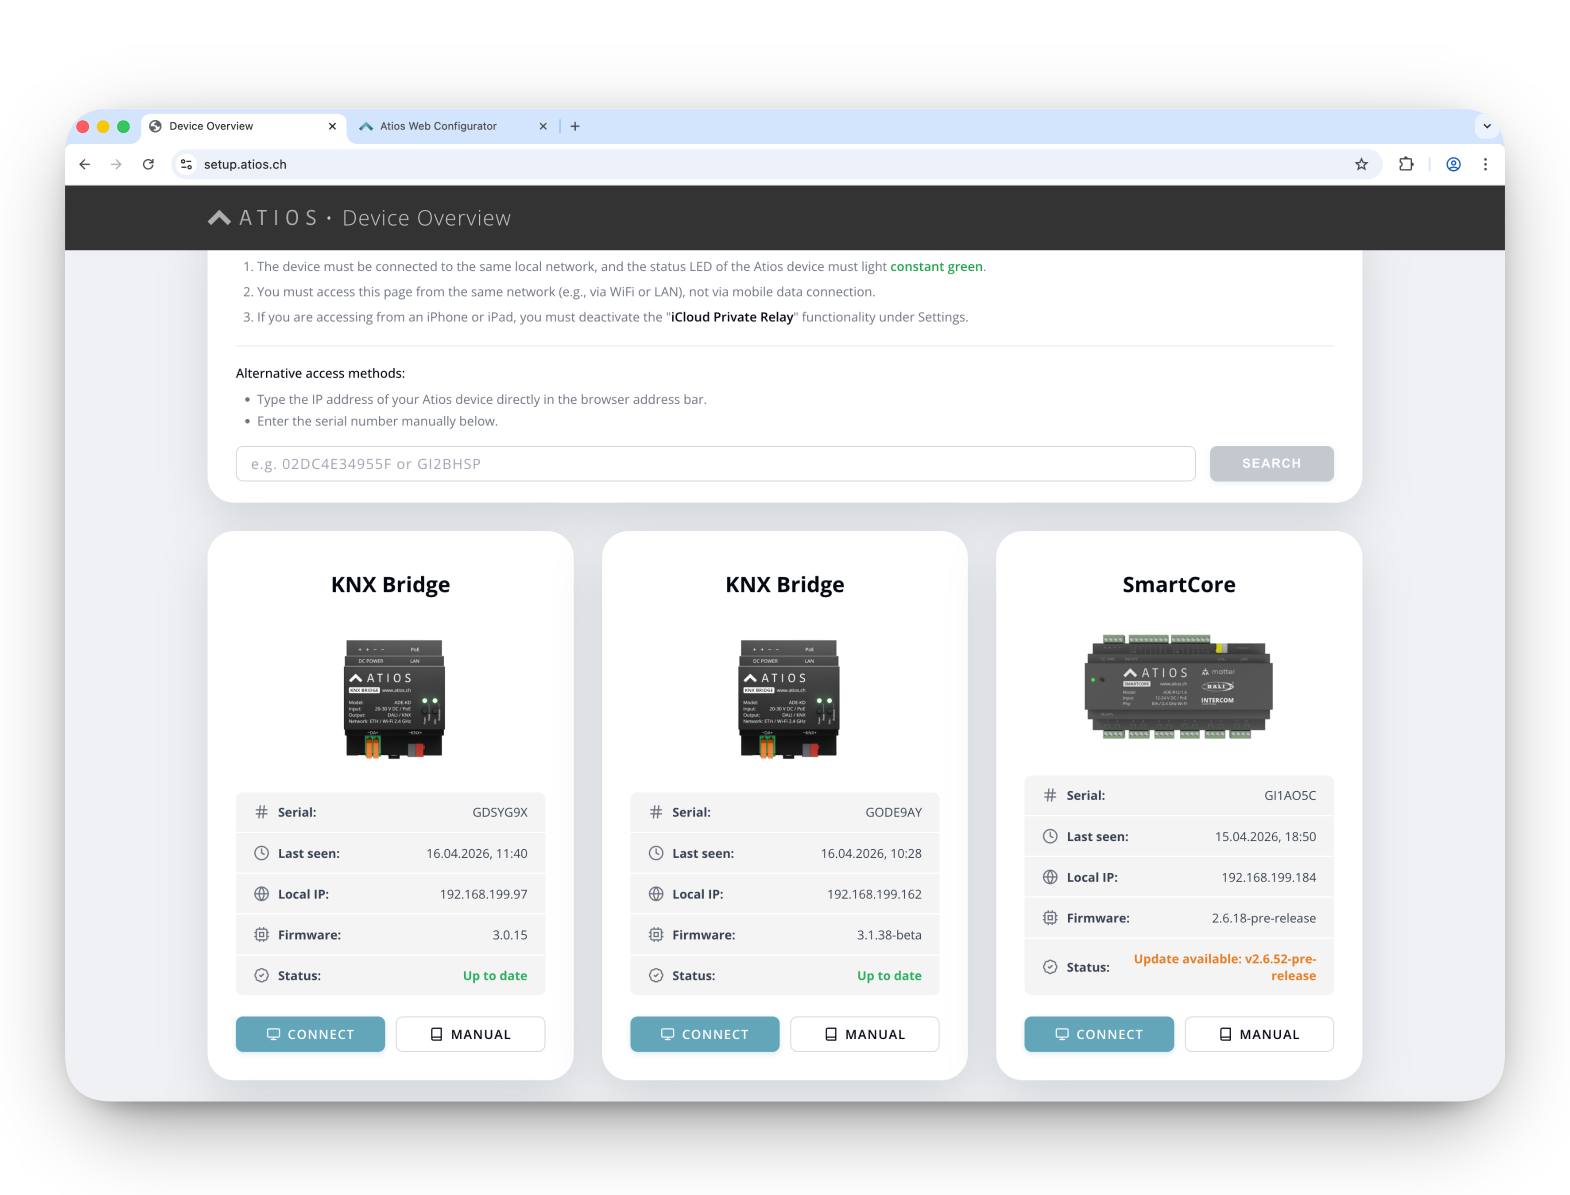
Go to setup.atios.ch, choose your KNX Bridge, and press Connect.
Configuring your Setup
1. KNX IP Interface
Use the KNX Bridge as a KNX IP Interface to program your KNX installation from ETS over the local network.
Enable KNX IP Interface: In KNX Settings, enable the local KNX IP Interface.
Connect from ETS: The KNX Bridge will appear as a KNX IP Interface in ETS. Select it and program your installation.
2. KNX-DALI Gateway
Connect your DALI lights to the DALI port and power them via the bridge's integrated DALI power supply.
Connect the DALI bus: Wire your DALI lights to the DALI bus terminal on the KNX Bridge.
Enable DALI Power Supply: In System Settings, enable the internal DALI power supply. Make sure no external DALI power supply is connected.
Configure lights: Open the DALI Configurator and scan the DALI bus. Address, group, and test your lights.
ETS Integration: Download the KNX Bridge product database, configure the DALI group addresses, and drag them onto the KNX Bridge in your topology.
Matter Integration: Add the DALI lights in the Accessory Manager as KNX lights.
3. Matter Bridge
In the Accessory Manager, you configure your lights, blinds, valves, and other devices by assigning KNX group addresses to each. The bridge then makes those devices available in the app.
Add Devices: Add your lights, blinds, valves, and other devices in the Accessory Manager. For each device, select the type and enter the KNX group addresses.
Pairing: Scan the QR code or enter the pairing code in your smart home app to pair the bridge. See the Matter Pairing Guide for platform-specific instructions.