
Quick Start
The Binary4 is installed in your electrical cabinet and turns four floating contacts into KNX telegrams. Typical contacts are conventional switches, push buttons and window contacts. You configure each input separately in ETS.
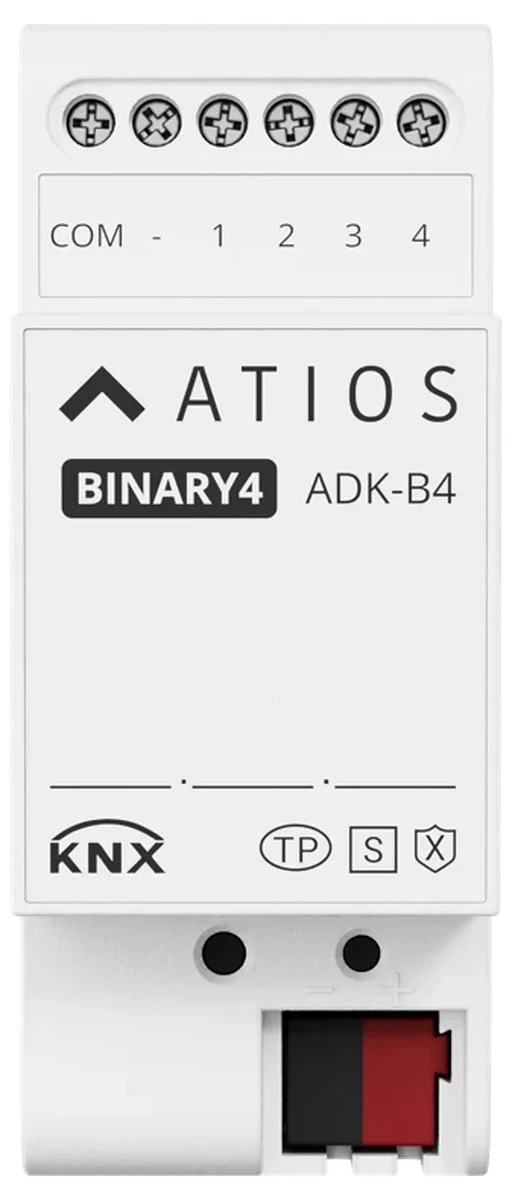
Key features
- 4 floating (dry) contacts, configured individually
- 9 input functions, including switching, dimming, shutter, scene and RGB control
- 8 logic functions and 8 event groups
- Inputs scanned at more than 12 V DC with 0.7 mA, up to 100 m of cable at 1.5 mm²
- KNX Secure (KNX Data Secure)
What you need
- Atios Binary4
- ETS 5.7 or higher
- Floating (dry) contacts, wired with up to 100 m of cable per input at 1.5 mm²
1. Mount and wire the device
Mount the device on the DIN rail in your electrical cabinet. Wire your contacts to the input terminals and connect the KNX bus (observe polarity). For full wiring details, go to Installation.
2. Assign the physical address
Add the Atios product database to your ETS catalogue and drag the device into your topology. Press the Programming button on the device (the red LED lights) and download the address. For a secure project, go to KNX Secure.
3. Set the hardware type
The application covers several device sizes, so set the hardware type to the 4-fold input first. Set the debounce time here as well, between 10 and 150 ms.
4. Configure the inputs
Give each of the four inputs a function and set its parameters. For details, go to Input Functions.
5. Add logic and event groups
Logic channels and event groups run inside the device and work on any group address, not only on the four inputs. For details, go to Logic Functions.
6. Download and check
Download the application. Operate each contact and check that the expected telegram appears in the ETS group monitor.