
Quick Start
The Heat6 is installed in your electrical cabinet and drives up to six thermal valve actuators over triac outputs. Each output follows one of the six built-in room temperature controllers, or a control value that another KNX device sends to it.
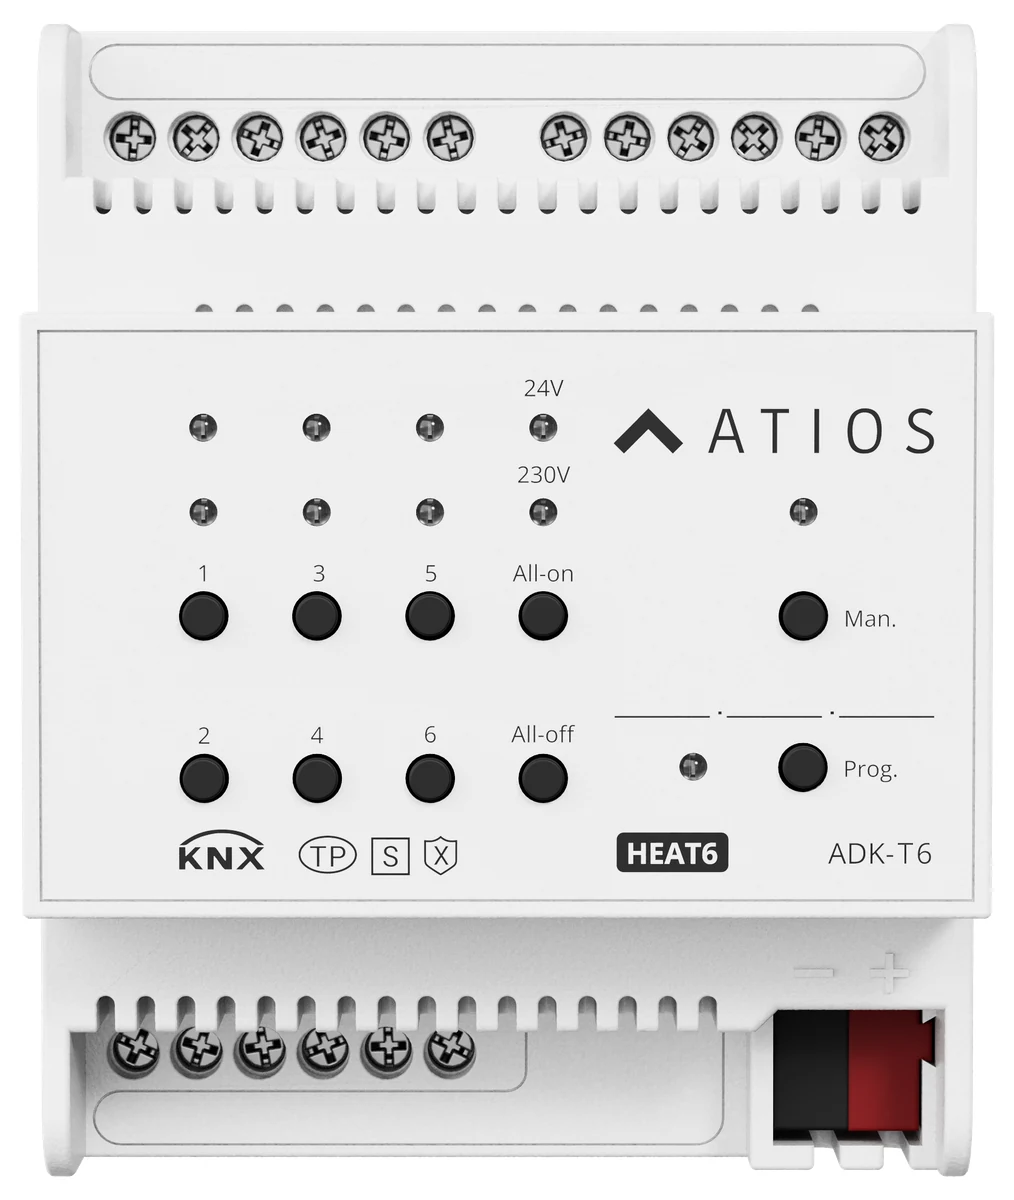
Key features
- 6 triac valve outputs for 24 V AC or 230 V AC actuators, up to 300 mA per channel
- 6 room temperature controllers for heating and cooling, with 2-point and PI control
- Valve purge, valve disable and forced operation on every output
- Summer/winter mode and 5 scenes per controller
- Manual buttons and status LEDs for each output
- Short-circuit and overload reporting
- KNX Secure (KNX Data Secure)
What you need
- Atios Heat6
- ETS 5.7 or higher
- A 24 V AC or 230 V AC supply for the valve actuators
1. Mount and wire the device
Mount the device on the DIN rail in your electrical cabinet. Feed the drive voltage into the input terminals, wire the actuators to the outputs, and connect the KNX bus (observe polarity). For full wiring details, go to Installation.
2. Assign the physical address
Add the Atios product database to your ETS catalogue and drag the device into your topology. Press the Programming button on the device (the red LED lights) and download the address. For a secure project, go to KNX Secure.
3. Set the drive voltage
In the general parameters, set the thermal driving to 24V AC or 230V AC so it matches the actuators you wired. Set how many valve outputs and room temperature controllers you need.
4. Configure the outputs and controllers
Link each output to a local controller or to an external one, and set its control mode. For details, go to Valve Outputs and Room Controllers.
5. Download and check
Download the application. Switch the device to manual mode and open each valve from its channel button to verify the wiring. For details, go to Buttons & LED Codes.